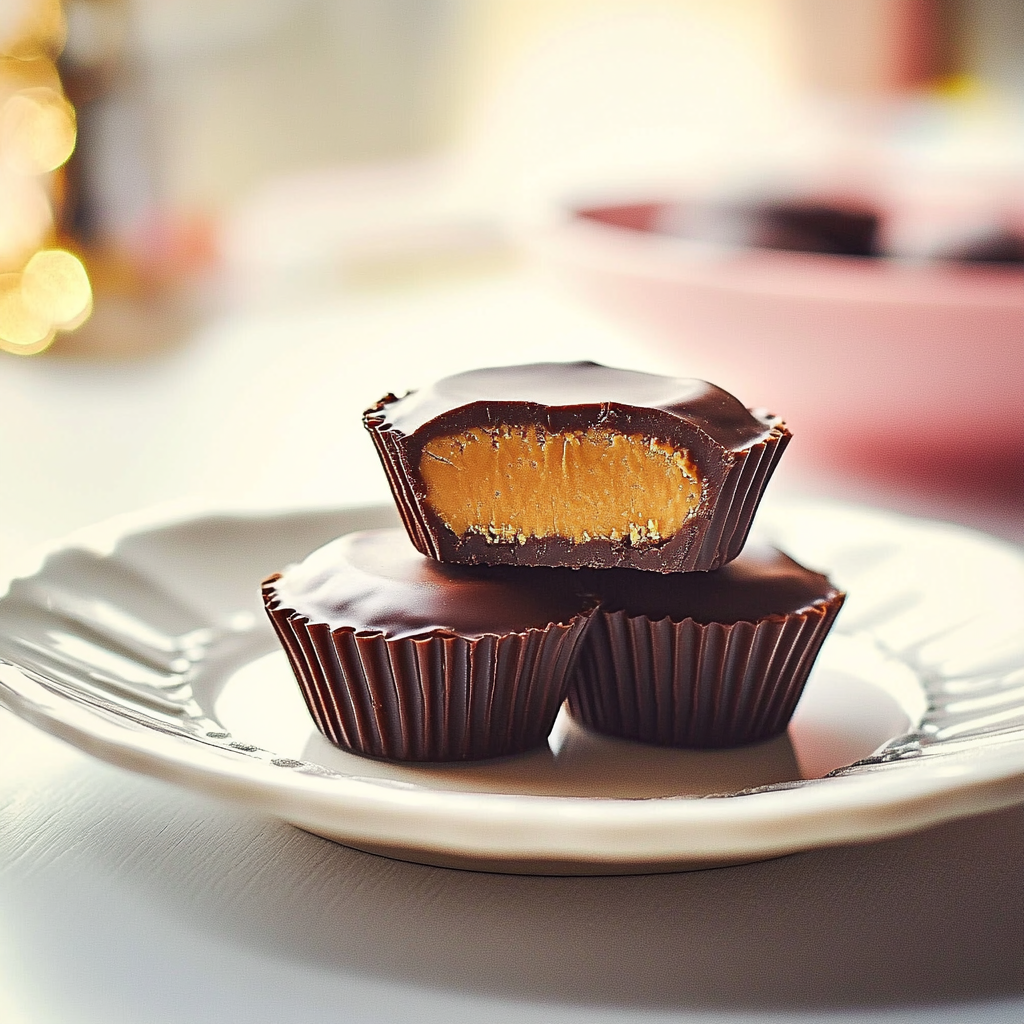
There’s nothing quite like the magic of homemade Peanut Butter Cups. Imagine the rich, creamy peanut butter hugging a velvety chocolate exterior, just waiting to melt in your mouth. The aroma wafts through your kitchen, evoking childhood memories and the simple pleasure of indulging in a sweet treat.
These delightful bites are perfect for any occasion—whether you’re watching a movie or trying to impress friends at a gathering. Trust me; once you experience the bliss of these Peanut Butter Cups, you’ll find it hard to resist making them again and again.
Why You'll Love This Recipe
- These Peanut Butter Cups are incredibly easy to make, requiring minimal ingredients and effort
- The rich flavor profile combines salty and sweet for an irresistible treat
- They look stunning on any platter, making them perfect for parties or special occasions
- You can customize them by adding toppings or flavors to suit your taste buds
I still remember the first time I made these Peanut Butter Cups. My friends couldn’t believe I actually created something so delicious right in my kitchen!
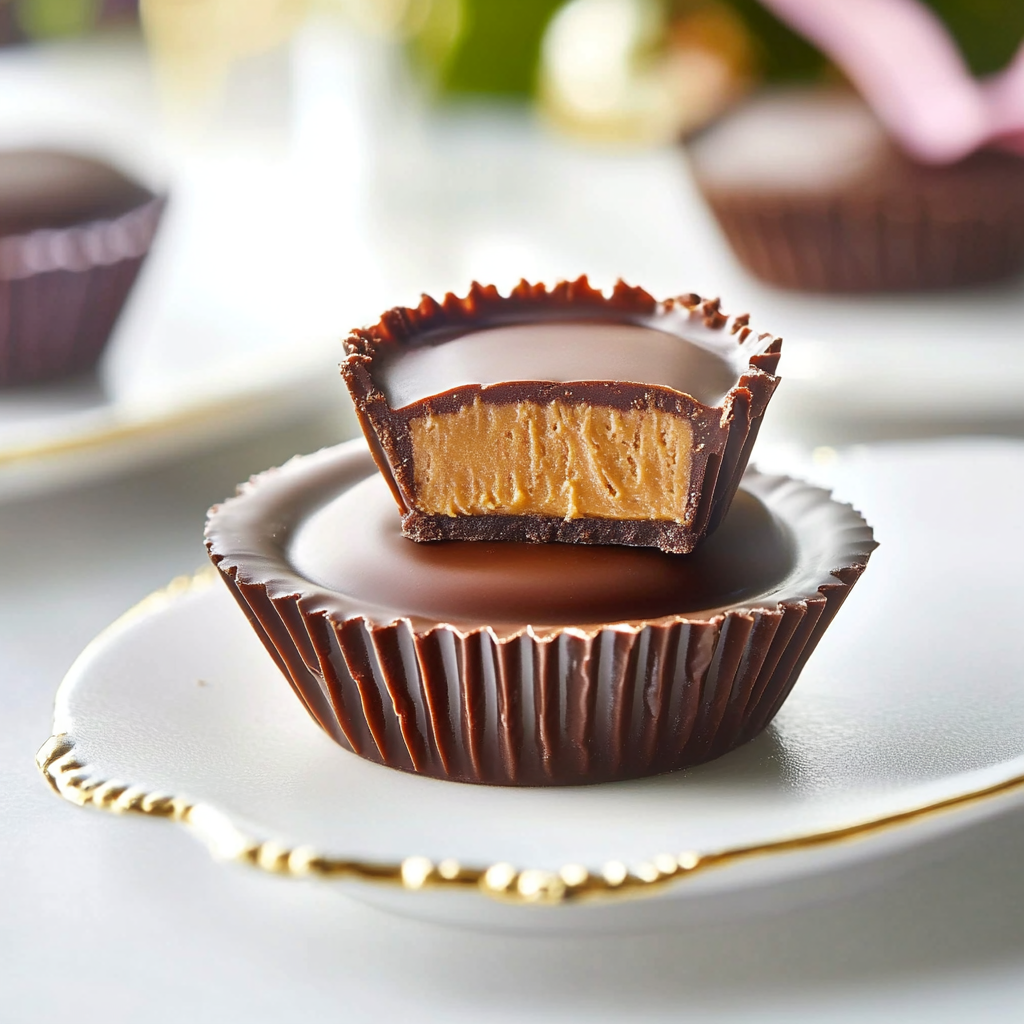
Essential Ingredients
Here’s what you’ll need to make this delicious dish:
-
Chocolate Chips: Use high-quality chocolate chips for a richer flavor; dark chocolate is my personal favorite.
-
Peanut Butter: Opt for creamy peanut butter for smooth texture; choose natural varieties without added sugars.
-
Powdered Sugar: This adds sweetness and helps bind the filling together; adjust according to your taste preference.
-
Muffin Liners: Use standard-sized muffin liners for easy removal after chilling; they also make cleanup a breeze.
The full ingredients list, including measurements, is provided in the recipe card directly below.
Let’s Make it Together
Prepare Your Setup: Start by gathering all your ingredients and tools. Line a muffin tin with muffin liners to make removing the cups easier later on.
Melt the Chocolate: In a microwave-safe bowl, melt half of your chocolate chips in 30-second intervals until smooth, stirring between each round to prevent burning.
Add Chocolate Base: Spoon about one tablespoon of melted chocolate into each muffin liner, ensuring an even coating on the bottom. Use the back of a spoon to spread it if necessary.
Create Peanut Butter Filling: In another bowl, combine peanut butter and powdered sugar until well mixed and creamy. This forms your irresistibly gooey center.
Fill with Peanut Butter Mixture: Add about one tablespoon of peanut butter mixture on top of the chocolate base in each liner. Press down gently but firmly to ensure they stay put.
Top with More Chocolate: Cover each peanut butter layer with another tablespoon of melted chocolate. Spread it evenly over the top so no peanut butter peeks through.
Chill Until Set: Place the muffin tin in the refrigerator for at least 30 minutes or until firm. Patience is key here; let those beauties set properly!
Now that you’ve got your mini masterpieces chilling away, sit back and marvel at what you’ve just created! Once they’re ready, peel them from their liners and get ready for an explosion of flavor – trust me, you won’t be able to eat just one!
You Must Know
- These Peanut Butter Cups are not just a treat; they offer a delightful balance of sweet and salty flavors
- The creamy texture melts in your mouth, making them irresistible
- Perfect for parties, movie nights, or just because you deserve something special
Perfecting the Cooking Process
Start by melting chocolate and peanut butter separately, then layer them for perfect consistency and flavor. This ensures each layer sets correctly without mixing.
Add Your Touch
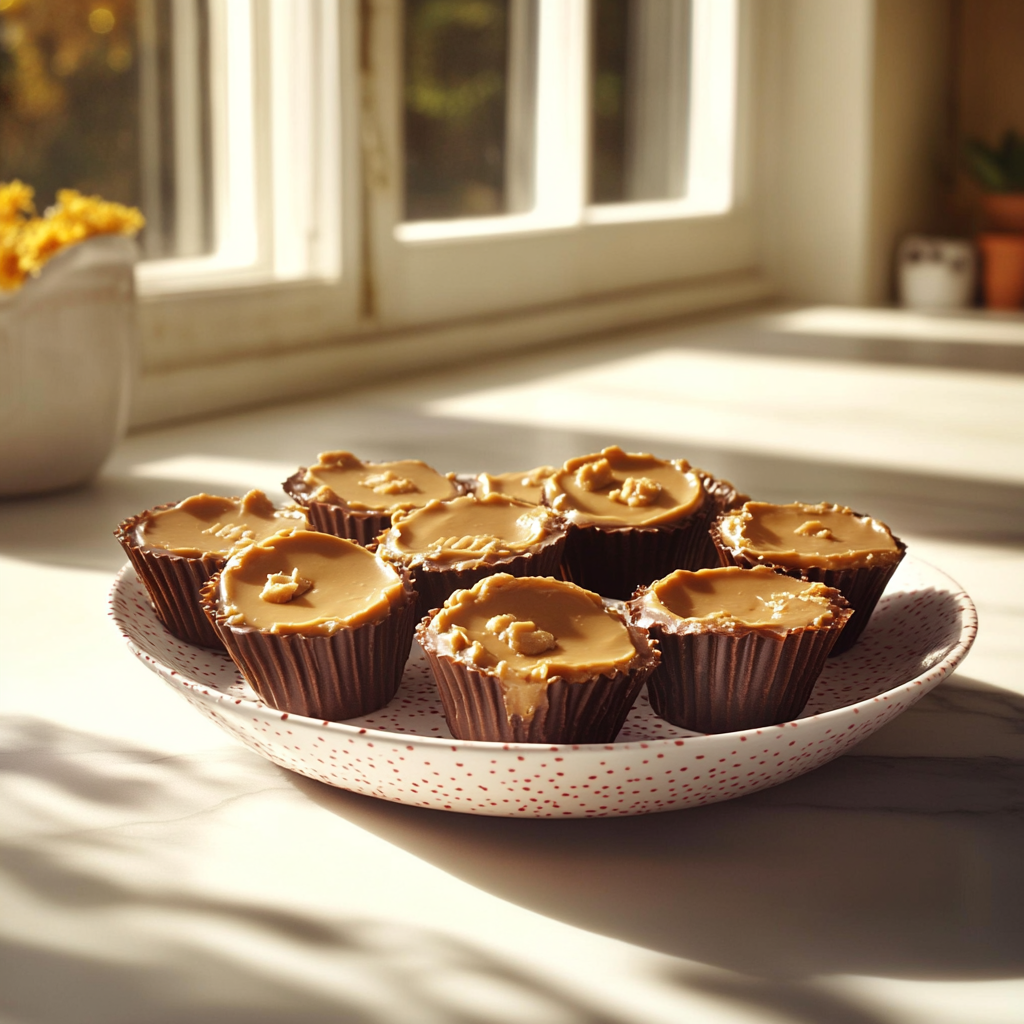
Feel free to customize with toppings like crushed nuts or sea salt for added crunch and flavor. Consider using dark chocolate for a richer taste if you prefer.
Storing & Reheating
Store your Peanut Butter Cups in an airtight container in the fridge for up to two weeks. They can be enjoyed straight from the fridge or at room temperature.
Chef's Helpful Tips
- To elevate your Peanut Butter Cups, use high-quality chocolate for a smoother finish
- Letting the chocolate cool slightly before pouring prevents it from melting the peanut butter layer
- Always use parchment paper for easy removal after setting
Making these Peanut Butter Cups reminded me of childhood days spent baking with my grandmother, who always said, “A little bit of love makes every treat sweeter.”
FAQ
Can I use natural peanut butter?
Yes, natural peanut butter works well but may alter the texture slightly.
How do I prevent chocolate from seizing?
Make sure no water gets into the chocolate while melting to avoid seizing.
Can I freeze Peanut Butter Cups?
Absolutely! Just wrap them well and freeze for up to three months.
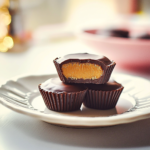
Homemade Peanut Butter Cups
- Total Time: 20 minutes
- Yield: Makes approximately 12 Peanut Butter Cups 1x
Description
Homemade Peanut Butter Cups are the ultimate indulgence, combining creamy peanut butter with a rich chocolate shell. These delightful treats evoke nostalgia and are perfect for any occasion, whether it’s a movie night or a gathering with friends. With minimal ingredients and simple steps, you can create these irresistible bites that will leave everyone craving more.
Ingredients
- 1 cup dark chocolate chips
- 1/2 cup creamy peanut butter (natural preferred)
- 1/4 cup powdered sugar
- 12 standard muffin liners
Instructions
- Prepare by lining a muffin tin with muffin liners.
- Melt half of the chocolate chips in a microwave-safe bowl in 30-second intervals until smooth.
- Spoon about 1 tablespoon of melted chocolate into each liner; spread evenly.
- In another bowl, mix peanut butter and powdered sugar until creamy.
- Add about 1 tablespoon of the peanut butter mixture on top of the chocolate base, pressing gently to secure.
- Cover each with another tablespoon of melted chocolate, ensuring no peanut butter is visible.
- Chill in the refrigerator for at least 30 minutes until set.
- Prep Time: 15 minutes
- Cook Time: 5 minutes
- Category: Dessert
- Method: No-Bake
- Cuisine: American
Nutrition
- Serving Size: 1 cup (32g)
- Calories: 150
- Sugar: 10g
- Sodium: 50mg
- Fat: 9g
- Saturated Fat: 4g
- Unsaturated Fat: 5g
- Trans Fat: 0g
- Carbohydrates: 14g
- Fiber: 1g
- Protein: 3g
- Cholesterol: 0mg

